
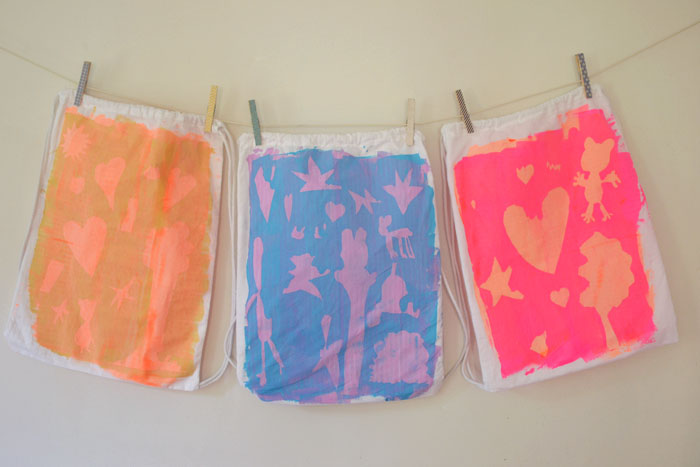
My art campers made these! I love this process, and I love the way they turned out. We used the scrape painting technique that we are really addicted to, and added some freezer paper stencils. It was basically a big experiment, and it worked! Mostly. Well, there were a few lessons learned that I will share with you, but overall I would definitely do this again.
This post contains affiliate links. Thank you for your support!
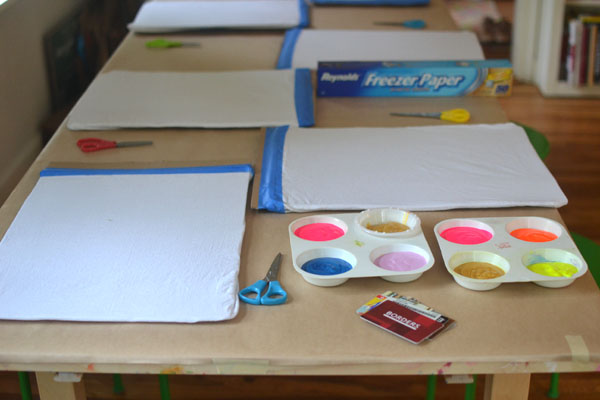
Supplies:
~ white cotton backpacks (I got mine on Amazon)
~ big piece of cardboard that fits snug inside the backpack
~ pencil
~ scissors
~ iron
~ paint (we used tempera, but that is not permanent. I would use Speedball fabric ink next time)
~ plastic spoons
~ credit cards or expired gift cards
Process:
1. Cut a piece of cardboard that is the exact width of the bag, and a little bit taller. It should be hard to get inside but ultimately you want the fabric to be really tight so that it doesn’t move around when scraping the paint.
2. Tape the top of the bag to the cardboard.
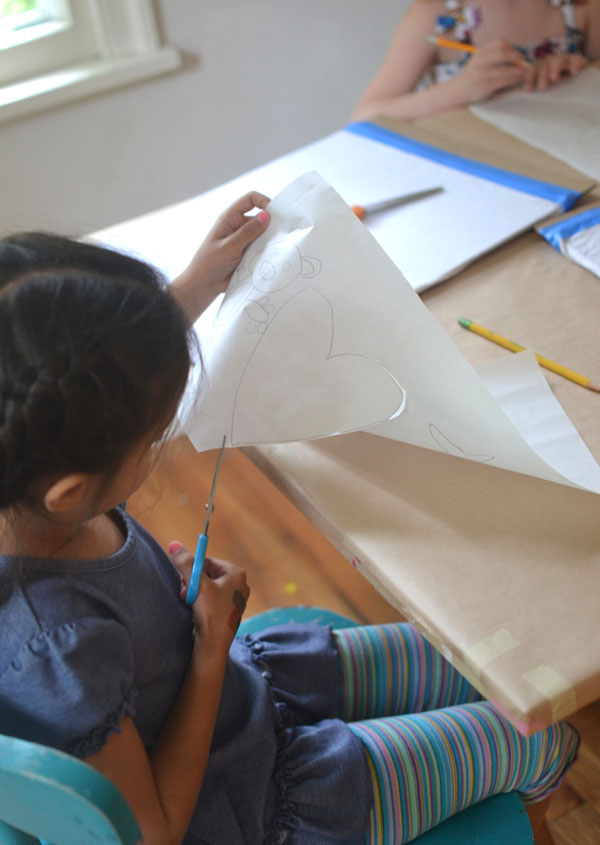
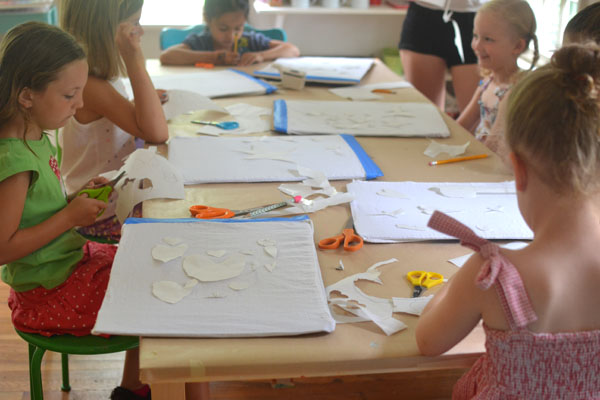
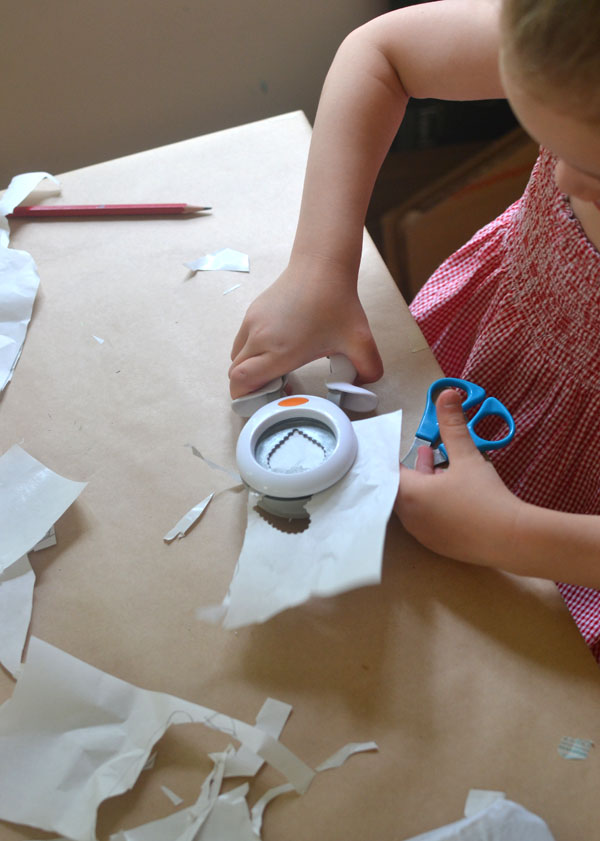
3. Cut a piece of freezer paper for each child. Let them draw and cut out shapes and arrange them on their bag. I had some paper punches that the kids used, too, which they loved. Try and encourage them to cut bigger pieces, though. Little kids love to cut little pieces! Bigger is better for this project.
4. After they have arranged all of their pieces, move the bags to the floor – away from the children – and use the iron to iron on the pieces (directions are on the box). I found that I had to turn the heat way up to make the pieces stick. Do not use steam.
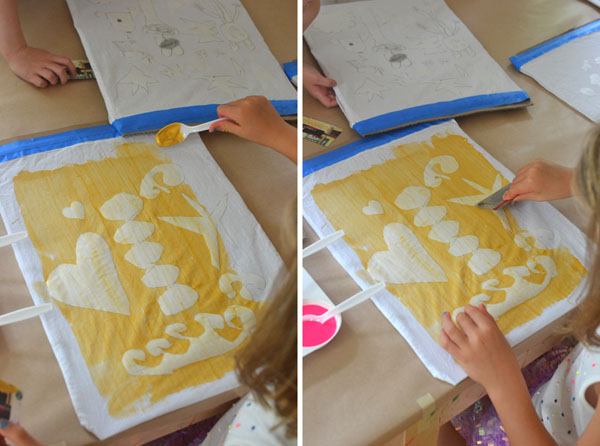
5. When everything seems to be well-stuck to the fabric, you can bring the baga back up to the table and let the kids add their paint.
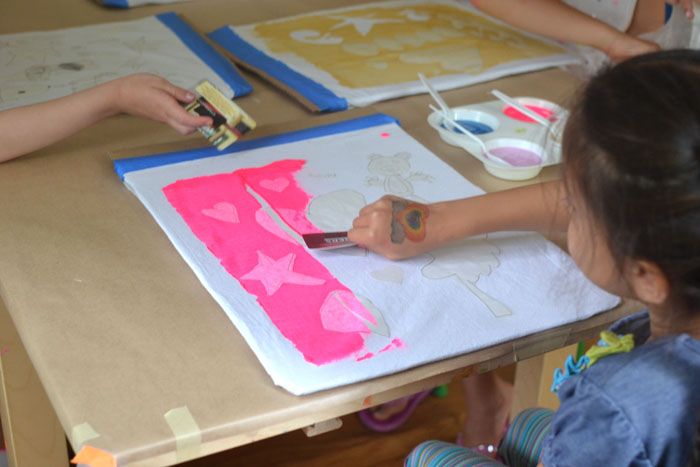
6. They can use the spoon to put a blob of paint at the top, then use the credit card to pull it down to the bottom. They will do this several times to cover the whole bag.

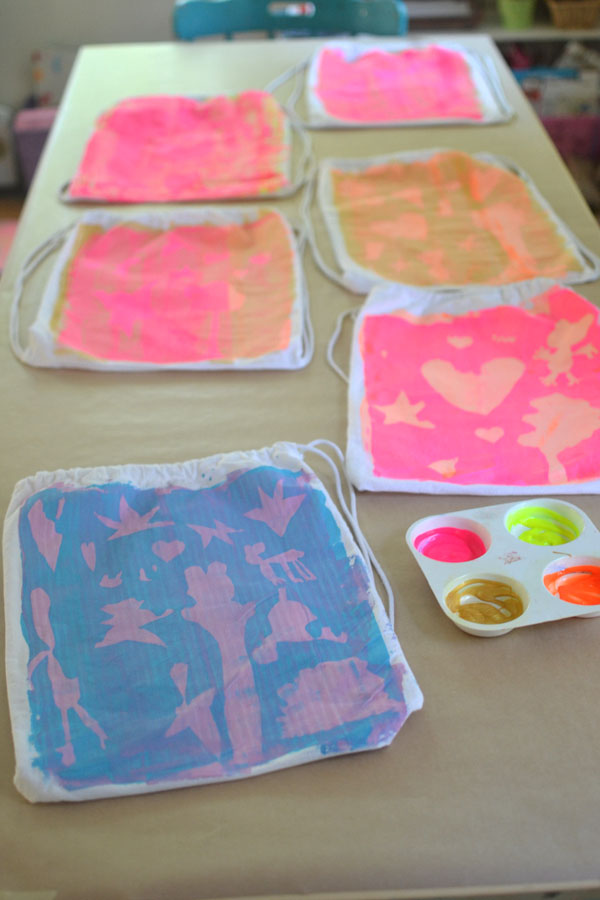
7. Next, the kids peel off their freezer paper stencils. Now they have white spaces. We decided to pull another color paint on top. We figured out that the first color should be the darker color and the second coat should be lighter (so that the second coat doesn’t completely obscure the contrast with the white spaces).
8. Let the bags dry overnight, then peel off the tape and take out the cardboard. Since we used water-based tempera paint, these are not washable. Now that I know this process works, I will buy some permanent fabric paint for next time!
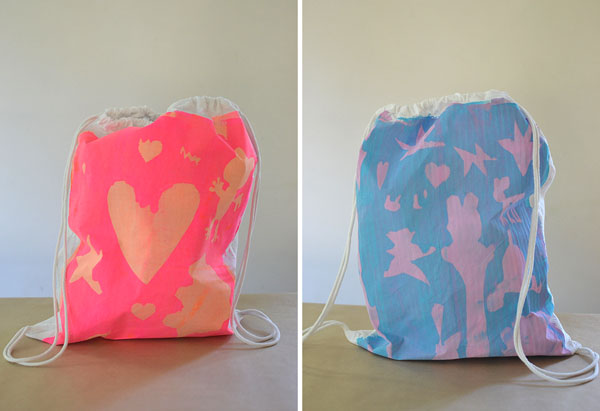
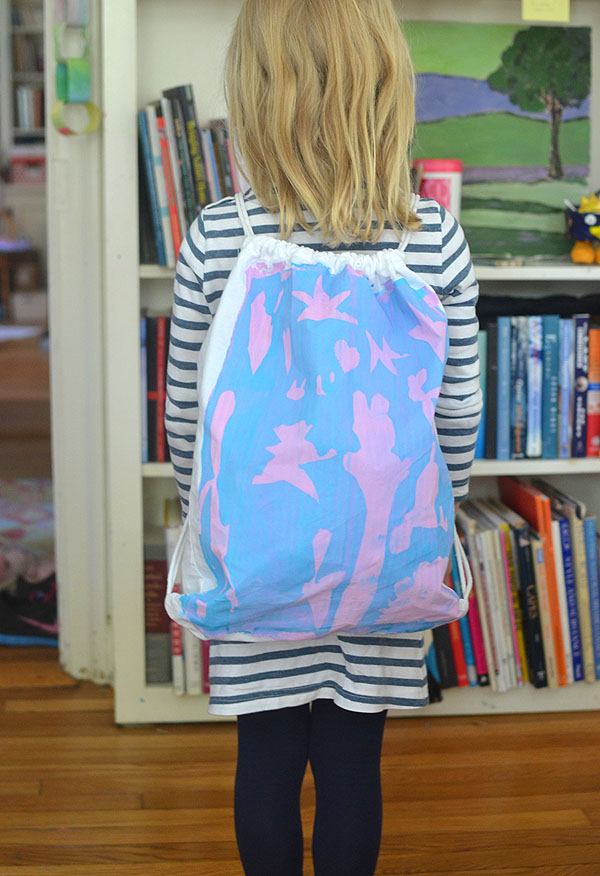
The kids were so proud of their work!! I am really excited by this process, and have more ideas for this summer. I think it would be really cool to make these on canvas and then make them into banners. Or flags! So many possibilities.
xo, Bar
PS: Here is my Beginner Art Supply list, and my Favorite Craft Supply list, if you need help knowing what to buy to fill your kids’ art area.
PSS: Follow me on Instagram to see what I’m up to at the moment, and Facebook for tons more creative and artsy ideas.
Leave a Reply